Quite a Pickle! A Hobbit’s Guide to Getting Started with Canning
Quite a Pickle! A Hobbit’s Guide to Getting Started with Canning
Now, my dear reader, there comes a time in every hobbit’s life when the garden overflows, the fruit bowl is brimming, and one must ask, “What in the name of second breakfast shall I do with all this bounty?”
The answer, of course, is canning!
Canning is a grand and noble tradition—one that ensures your summer harvest lasts through the long winter months (or, more realistically, through an unexpected midnight snack raid). There’s something deeply satisfying about filling your pantry with jars of jewel-toned jams, tangy pickles, and sauces that taste of sunshine and hard work. So, if you’re ready to embark on this most rewarding of kitchen adventures, let me take you by the flour-dusted hand and show you how it’s done.
The Basics: What is Canning, and Why Should You Do It?
Canning, at its heart, is the art of preserving food by sealing it in jars so that it stays fresh for months—or even years. It’s a marvelous way to make the most of a bumper crop, save money, and ensure your home is always stocked with something delicious. Plus, there’s a certain magic in opening a jar of homemade strawberry jam in the dead of winter and tasting the very essence of summer.
There are two primary methods of canning, and which you use depends on what you’re preserving:
- Water Bath Canning – Best for high-acid foods like fruit jams, jellies, pickles, and tomato sauces.
- Pressure Canning – Necessary for low-acid foods like vegetables, meats, and soups to ensure they’re safely preserved.
Since we don’t want anyone summoning a foodborne Balrog (ahem botulism), we shall start with water bath canning, the easiest and safest method for beginners!
What You’ll Need (No Enchanted Rings Required!)
Before you dive headfirst into a vat of brine, you’ll want to gather your supplies. Here’s what you need to get started:
✅ Canning Jars – Mason jars are your best bet! They come in different sizes, but half-pint and pint jars are perfect for jams and pickles.
✅ Lids and Bands – The lids seal the jars, while the bands hold them in place during processing. Always use new lids for a proper seal!
✅ A Large Pot (for Water Bath Canning) – Needs to be deep enough to cover your jars with at least an inch of water.
✅ A Jar Lifter – Essential for retrieving hot jars from boiling water without burning your hobbit fingers.
✅ A Funnel – Helps pour your delicious concoctions into jars without making a sticky mess.
✅ A Ladle and a Wooden Spoon – For stirring and filling. Because no one likes unevenly distributed jam.
✅ A Clean Towel – To rest your freshly canned goods upon, as they cool and seal.
Step-by-Step: Your First Canning Adventure
1. Prepare Your Jars
Give your jars, lids, and bands a good wash with hot, soapy water. Then, place the jars in your big pot of simmering water to stay warm while you prepare your recipe. This prevents temperature shock (which can lead to shattered jars—a tragedy if ever there was one).
2. Make Your Magic (The Recipe, That Is!)
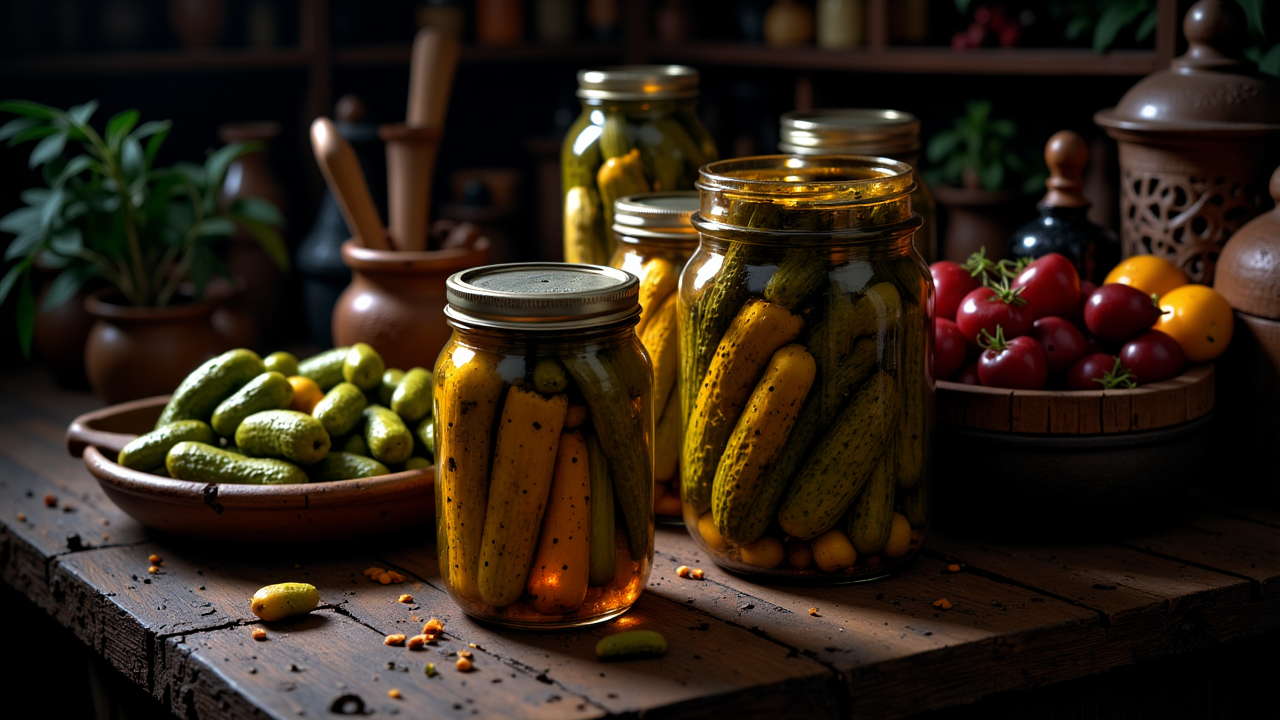
Let’s say you’re making classic dill pickles—a fine choice for a first-time canner! Here’s a simple brine:
- 3 cups water
- 3 cups vinegar (white or apple cider)
- ¼ cup pickling salt
- Garlic cloves, dill sprigs, and whole peppercorns for flavor
- Cucumbers, quartered or sliced (fresh and firm!)
Bring the brine ingredients to a boil, then reduce the heat to keep it warm while you pack your jars.
3. Pack Your Jars with Goodness
Take your warm jars from the pot and pack them tightly with cucumbers, garlic, dill, and spices. Then, pour the hot brine over the top, leaving about ½ inch of headspace (room at the top of the jar).
4. Remove Air Bubbles
Run a chopstick or bubble remover along the inside of the jar to release any trapped air bubbles. Less air means a better seal and a longer shelf life!
5. Wipe, Lid, and Band
Wipe the rims of your jars with a clean, damp cloth to remove any spills (a dirty rim could prevent sealing). Then, place a lid on each jar and screw the bands on until they’re “fingertip tight” (snug, but not cranked down like you’re securing dragon hoard treasure).
6. Into the Bath!
Carefully lower the jars into your pot of boiling water, ensuring they’re covered by at least an inch of water. Boil for 10-15 minutes, depending on your altitude (higher up, you’ll need more time).
7. Remove and Listen for the Magic “Ping”
Once time is up, use your jar lifter to remove the jars and set them on a towel to cool. As they cool, you’ll hear a delightful ping!—this means the lids have sealed! If a jar doesn’t seal, simply pop it in the fridge and use it within a few weeks.
8. Store and Enjoy
After 24 hours, check that the lids are sealed by pressing the center—if it doesn’t pop back, it’s sealed! Label your jars and store them in a cool, dark pantry. Now you have delicious, homemade pickles (or jam, or sauce) ready whenever the mood strikes!
Canning Troubles? A Few Hobbit-Sized Fixes
🔹 My jars didn’t seal! – Give them another try with fresh lids, or refrigerate and use them soon.
🔹 My pickles are mushy! – Always use fresh, firm cucumbers and avoid over-boiling.
🔹 There’s white stuff on top of my jam! – A little sugar crystallization is normal; just skim it off!
Final Thoughts from a Well-Stocked Hobbit Pantry
Canning is a bit like setting out on an adventure—it may seem daunting at first, but once you take the plunge, you’ll wonder why you didn’t start sooner. The joy of opening a jar of something you made is unmatched, and it makes a most excellent gift for friends, family, or unexpected visitors who drop by (as they always do).
So grab your jars, wield your ladle, and start filling your pantry with homemade treasures! May your pickles be crisp, your jams be sweet, and your shelves never be empty.
Happy canning, and remember—a full pantry is a happy hobbit home! 🍯🥒✨


