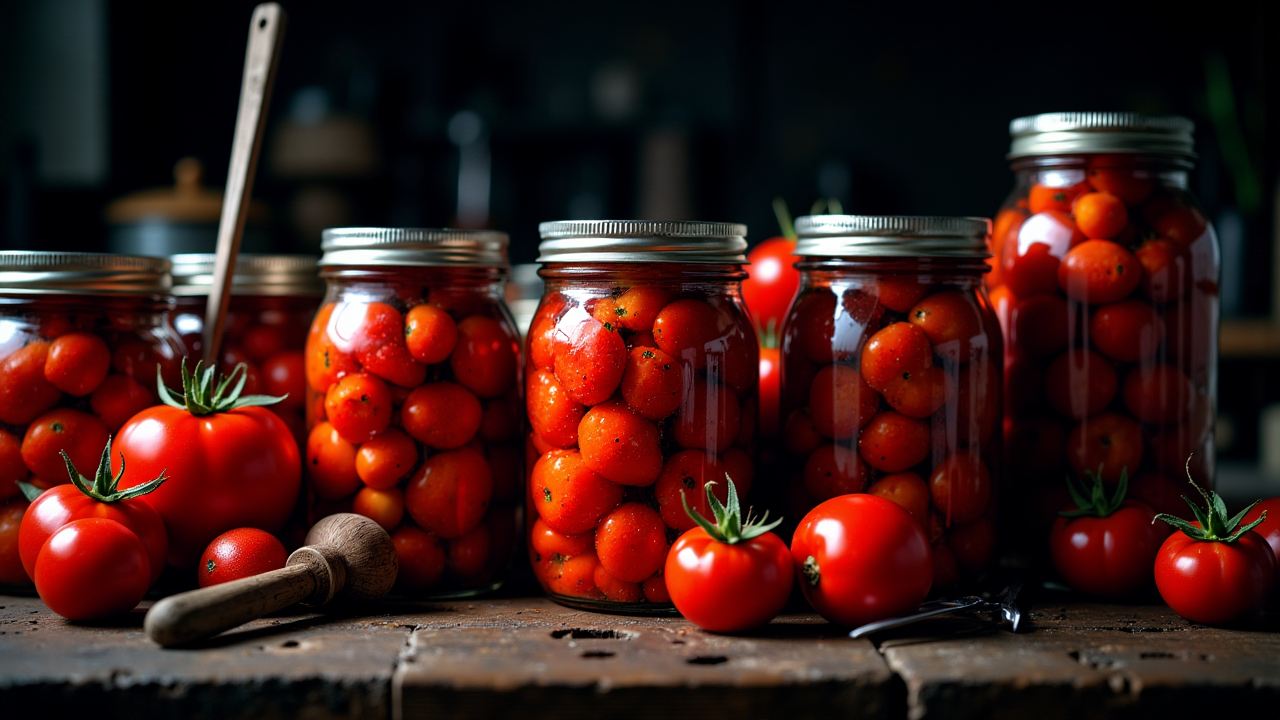
Secrets of the Shire Pantry: Canning Tomatoes Like a Pro
Deep in the heart of every well-stocked cottage pantry lies a treasure trove of summer’s finest bounty, neatly preserved in gleaming glass jars. Among these, none are more prized than the humble tomato, tucked away for hearty stews, rich sauces, and the occasional spoonful straight from the jar. If you long to keep the flavors of the harvest all year round, it’s time to roll up your sleeves and master the art of canning tomatoes.
Gathering Your Tomatoes
The best canned tomatoes begin with the best fresh tomatoes. Choose firm, ripe fruit free from blemishes or bruises. A mix of sweet and tart varieties—such as Roma, San Marzano, or a good old-fashioned beefsteak—makes for a well-rounded flavor.
You’ll need about 21 pounds of tomatoes for a full canner load of seven quarts or 13 pounds for nine pints.
Essential Tools for the Job
Before diving in, make sure your kitchen is well-equipped:
- Large pot for blanching
- Ice water bath
- Sharp knife
- Canning jars (quarts or pints)
- New canning lids and bands
- Jar lifter and funnel
- Water bath canner (or a deep stockpot with a rack)
- Lemon juice or citric acid (to ensure safety)
Step 1: Preparing the Tomatoes
- Blanch and Peel – Bring a pot of water to a rolling boil and score a small “X” on the bottom of each tomato. Drop them into the boiling water for about 30 seconds, then transfer them immediately into an ice bath. Once cooled, the skins should slip right off.
- Core and Cut – Remove the tough core from each tomato. You can leave them whole, halve them, or crush them, depending on how you plan to use them later.
Step 2: Packing the Jars
You have two main options when canning tomatoes: raw pack or hot pack.
- Raw Pack: Fill jars with raw, peeled tomatoes, pressing down to release juices.
- Hot Pack: Simmer peeled tomatoes for about five minutes, then ladle them into jars with their juices.
Regardless of your method, leave about ½ inch of headspace at the top of each jar.
Don’t Forget the Acidity!
To ensure safe preservation, tomatoes must be acidified:
- Add 2 tablespoons of bottled lemon juice per quart jar (or 1 tablespoon per pint).
- Alternatively, use ½ teaspoon citric acid per quart (¼ teaspoon for pints).
- Add ½ teaspoon of salt per jar for flavor, if desired.
Step 3: Sealing and Processing
- Wipe the jar rims clean and place sterilized lids on top. Screw bands on fingertip tight (not too tight, or air won’t escape).
- Submerge jars in a boiling water bath, ensuring at least one inch of water covers the tops.
- Process for 40 minutes (pints) or 45 minutes (quarts), adjusting for altitude if necessary.
- Once done, carefully remove jars and let them sit undisturbed for 12-24 hours until fully sealed.
Storage and Use
Once cooled, check that the lids have sealed by pressing down on the center—if it doesn’t pop, it’s good to go. Store jars in a cool, dark place, and they’ll keep for up to a year.
When the chill of winter sets in, you’ll have summer’s sweetness ready for soups, sauces, and all manner of rustic feasts. A proper pantry, after all, is a little bit of magic—bottled and waiting for the right moment.


